RICK HELMS WOODWORKING
SHAKER LIBRARY TABLE
PART II: BUILDING THE TOP AND SKIRTS


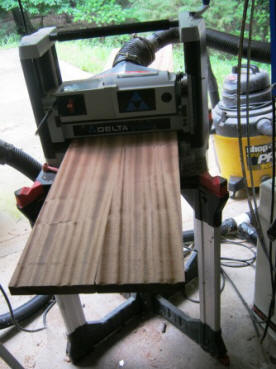
The top for the library table is five feet long and one foot wide. Here, I'm running the entire tabletop through the planer to get it to a uniform thickness and erase the glue line as much as possible.
I made the initial table blank about six inches longer than the final size, to compensate for planing snipe. After thinning the top to about three quarters of an inch, I cut off the sniped ends on my table saw.
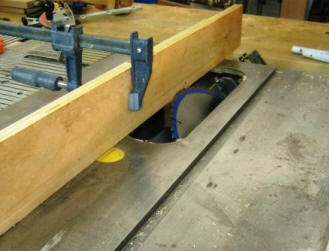
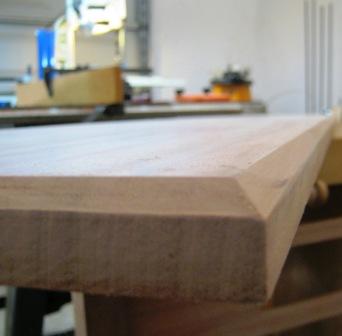
I took a piece of waste plywood and clamped it to my saw fence to make a sacrificial fence. Then I angled my blade to forty-five degrees and moved the plywood into the blade until it began to cut, with a cutting height of about a quarter inch. Now all I have to do is run the tabletop through the saw blade on all four sides.
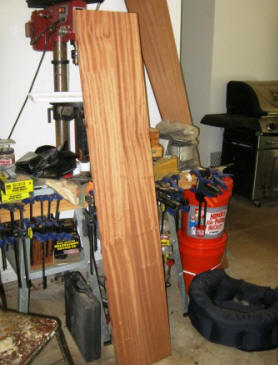
A little light sanding to clean the line up, and this tabletop is done!
Total time spent on the top (minus twenty-four hours to allow the joint glue to cure): about three hours.
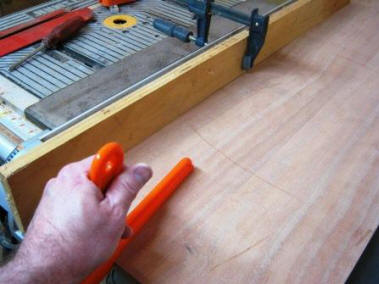
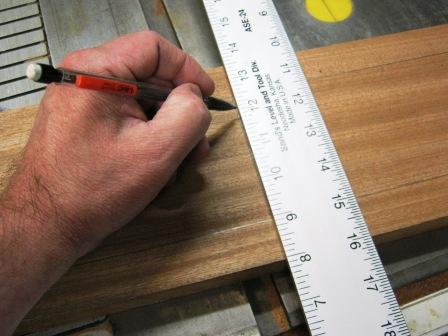
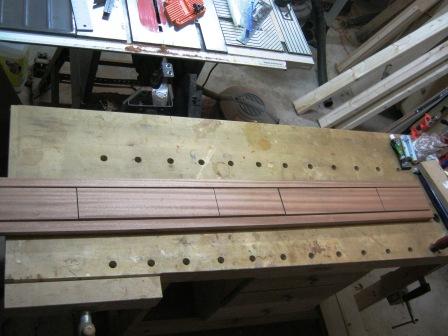
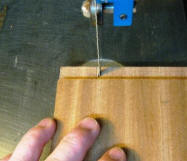
So, first I needed to mark the one-inch margins, which you can see here. In this picture, I've marking the midpoint of the board, which I'll use to mark out the actual drawer positions.
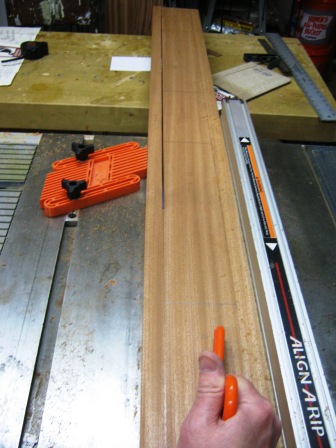
Note again the use of the featherboard and the push stick. I cannot stress this strongly enough, or often enough. Safety first!
Confused? It will make sense in a minute.
I build the front skirt this way so that I will get continuous grain lines across the skirt itself and the drawer fronts. It makes for a prettier workpiece.
The next step is to glue the whole thing back together.
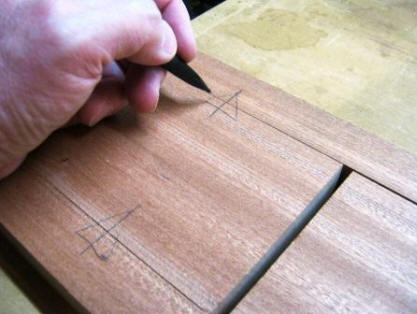
Rick's Woodworking Tip #47--always mark your workpieces to align at multiple points. This gives you the best continuity in the grain lines when you do glue the pieces back together. The triangle with a vertical line through it is a good practices. Each triangle then gives you three different alignment points. The vertical line also provides a reference point for cutting the biscuit slots.
I do this one each of the three middle pieces in the front skirt, top and bottom.
By using the biscuits, I'm building a front skirt that will stay glued forever, and on which you won't be able to tell that it was ever cut into seven pieces!
I mentioned before that the front skirt would determine the width of the back and side skirts. By making the rip cuts for the top and bottom of the skirt, I made it narrower than the other pieces. The fix? Easy! I just use the reassembled front skirt to set the distance from the tablesaw fence to the blade, and then rip the stock for the rear and side skirts to match.
If you read my Morris Chair build diary, you may recall that I used a tenoning jig to cut those tenons. This time, I'm doing something a little different.
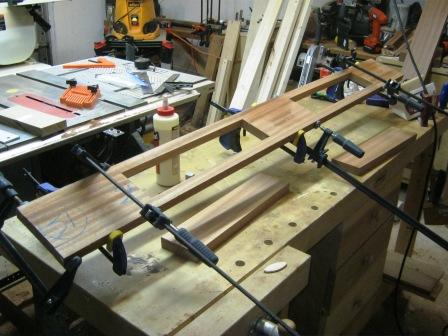
I want to use half-inch tenons for this project, so I use clamps and a stop block to set the distance to the tablesaw blade, and then I clamp the front skirt flat to the crosscut sled base using more clamps and some waste 2"x2" stock. I set the blade height to one quarter inch, and then just run the whole shebang over the blade to give me perfectly squared tenon cheeks.
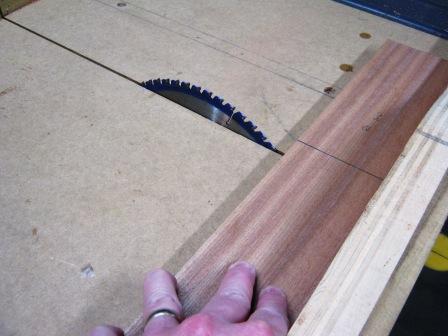
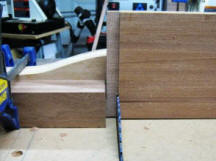
In the first picture, I'm cutting the cheeks of the tenon, using the stop block to assure that both sides of the tenon cheek will be square and the same depth. After making the main cheek cut, I back the piece away from the stop block, and start nibbling away the waste using successively closer passes. I can't cut any deeper than the main cheek cut, because the stop block will prevent that. The second picture shows the finished nibbled tenon cheek.
I could do this using a dado blade, of course, but it takes a much shorter time to clamp on a stop block than it does to change saw blades, and using a dado blade would really mess up my crosscut sled. In the end, this is quicker, easier, and just as effective.
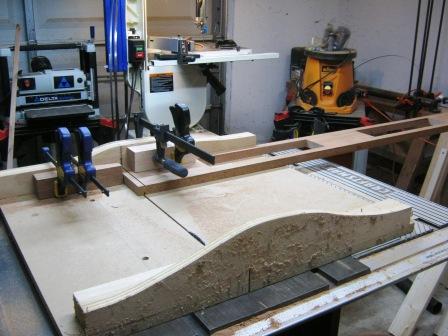
In the third picture, I've raised the blade from one quarter inch to one inch. I've placed the workpiece flat against the back fence of the crosscut sled, and I just run it through the blade to cut the vertical line of the tenon shoulder. I cut the shoulder because I don't want any of the tenon to show in the finished table. By cutting the tenon shoulder, the actual skirt will be glued to the table leg, and no sign of the tenon will be visible. The mortise and tenon joint is much more stable much stronger than a simple butt joint, which is doomed to fail at some point in the future.
In the fourth picture, I simply cut off the rest of the tenon shoulder waste using my bandsaw. This doesn't have to be a pretty cut, as long as I don't cut into the skirt itself, because once this is glued up nobody will ever see this tenon again. It just has be to square on the cheeks, to give a good tight joint.
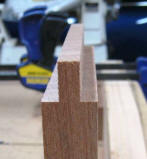
Nothing in this picture has been glued, but it's all standing together with just a single clamp. Looks like I've done everything just right so far!
Of course, we still have a lot of things to do before final assembly. Even so, I took a few minutes to sit and stare at the dry-fitted project and imagine how it would look in the den after finishing!